Love for Machinery
No technician with any love for machinery wants to open up a final drive for evaluation and find it caked in dried mud, debris, and rust. In this article, we are going to go over our procedure for cleaning a final drive before its disassembly.
The final drives that we receive for evaluation, repair, or re-manufacturing are definitely not in like-new condition. In fact, most of them look like this Rexroth final drive from a Bobcat T140/T180/T190.
Here are some other Shop Talk Blog posts you might enjoy:
- 10 Step Final Drive Reman Process
- 7 Reasons Why You Should Keep Your Machine Clean
- Shipping a Final Drive Core
Our Cleaning Procedure
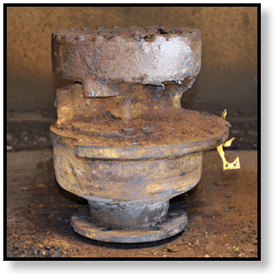
The final drives that we receive for evaluation, repair, or re-manufacturing are definitely not in like-new condition. In fact, most of them look like this Rexroth final drive from a Bobcat T140/T180/T190.
Save
Save
Save
Save
Save
Save
Save
Why Cleaning is Important
As already mentioned, when we receive a final drive or hydraulic motor it usually arrives at our facility looking not unlike the image above: encrusted with dirt, mud, clay, sand, silt, and rust. And that’s exactly what we are prepared for, hence our thorough cleaning procedure.
Before we open up a travel motor for evaluation, we thoroughly clean the exterior. In fact, this is necessary to prevent contaminants from getting into the drive when we begin to disassemble it. It also makes it easier to remove the bolts and separate the hubs when we get ready to evaluate and inspect the drive.
Rust and Caked-on Debris
The first stage of cleaning is to remove as much of the debris and rust from the exterior of the drive as possible.
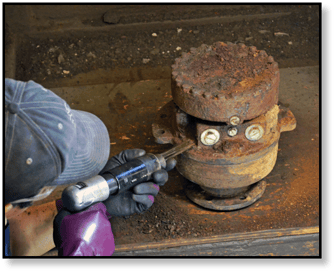
We use an air needle scaler to blast off scale, rust, cement, and any other hardened debris. This works very well as a preliminary step to washing and sand blasting. It is used to get the bulk of the material off the exterior of the drive.
Save
Save
Save
Save
Save
Wash Cabinet
The next step in the cleaning process is to place the final drive in a parts washer cabinet. Within the cabinet, the final drive is placed on a rotating turntable. After the parts washer door is secured and the timer is set, then this phase of the cleaning process is initiated.
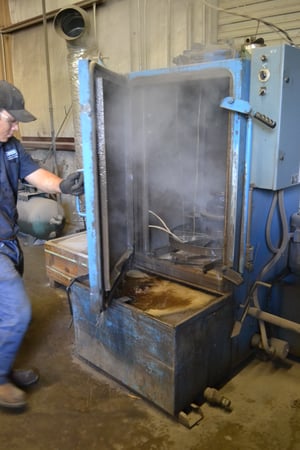
Detergent is sprayed on it at high pressure from all directions. This removes grease, carbon, oil, and various types of grime in a far more effective way than could ever be done by hand.
Sandblasting
 Abrasive cleaning, better known as sand blasting is the next step in the cleaning process.
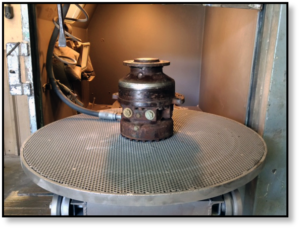
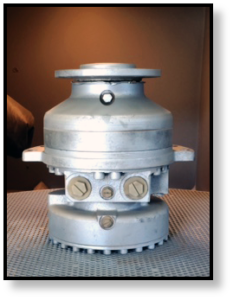
We place the final drive in a large sand blasting cabinet and proceed to blast away. The first image shows the same Rexroth final drive as it is being rolled into the sand blasting cabinet.
Save
Save
Save
Save
Save
Save
Here you can see that very same Rexroth final drive as it comes out. You will notice that it looks almost like new, with all debris, scale, and rust completely removed. At this point the final drive is finally ready to open up for inspection and diagnosis without concerns about contaminants that could fall into the drive itself.
At this point, the exterior cleaning of the final drive is complete and it is now ready to be disassembled.
Save
Save
Save
Save
Save
Save
Conclusion: Take the Time
By taking the time to thoroughly clean the final drives as they come in, we are able to prevent contamination of the inside of the final drive when we do disassemble it. This cleaning process also makes it much easier to loosen the bolts and separate the hubs. When you get ready to fix a final drive, always make sure to clean the outside first.
Want to know how to ship a final drive motor safely and economically? Get the "must have" free resource guide provided by Texas Final Drive on How to Ship a Final Drive Motor?

