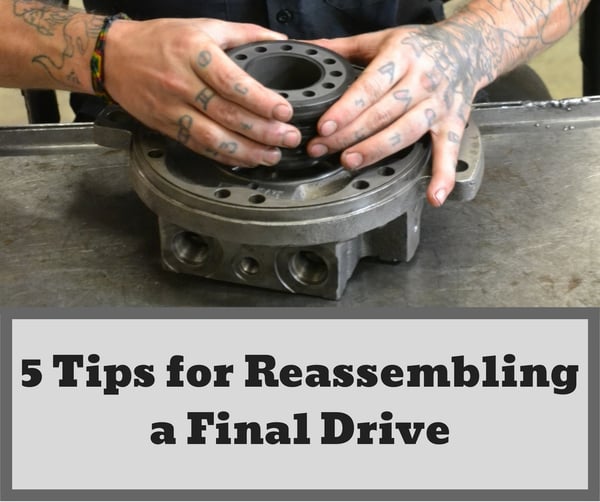
We know that some people prefer to work on their own final drive hydraulic motors. In this Shop Talk Blog post, we provide 5 tips to help you when it comes time to reassemble your final drive, beginning with a clean work area!
Here are some other Shop Talk Blog posts you might find helpful, too ...
- Tips for Installing a Final Drive
- A Dangerous Misconception about Hydraulic Motor Installation
- 10 Step Final Drive Reman Process
Tip #1: Have a clean work area
Never reassemble a final drive in a dirty work area. Contamination of hydraulic systems is the number one cause of failure, and you can end up introducing a ton of contamination that can destroy your final drive. That’s why we put so much emphasis on a clean work area (and clean tools, too). If you can’t find a clean spot on your workbench, then lay some cardboard, thick paper, or plywood over the surface of the table.
Also keep in mind that abrasive particles (sand, dirt, grit, metal filings, dust) can damage the finish on parts and cause severe problems for components like anti-friction bearings. If you carefully clean the parts ahead of time, putting them on a dirty work area will, then putting them down on a dusty work surface will undo all that work cleaning them.
Here are some examples of what can go wrong when you don’t keep dirt, dust, and grime from final drive parts (besides the risk of contaminating your hydraulic system):
- Debris can get trapped between surfaces and prevent them from tightening together solidly, and when that debris later falls out the bolts will be loose (and under enough load they can loosen further or even shear off)
- Dirt can gets trapped between moving parts will result in rapid wear, loss of power, and premature failure
- Debris like sand and dirt can get caught in passages and prevent valves from seating fully
- Dust and sand can get trapped in lubricants like oil or grease can end up spreading to other parts and causing damage
Tip #2: Be Organized
Arrange the disassembled parts together in an organized way. You don’t want to waste five minutes searching the entire workbench for one small spring or snap ring. You won’t have to search, however, if you keep small parts together on your workbench. Keeping things like seals, bearings, gaskets, snap rings, etc. in the same area will speed up the final drive assembly process and save you some stress. Being organized like this will also help you quickly identify if a part is missing and quickly determine if you are about to have pieces left over (which is not good).
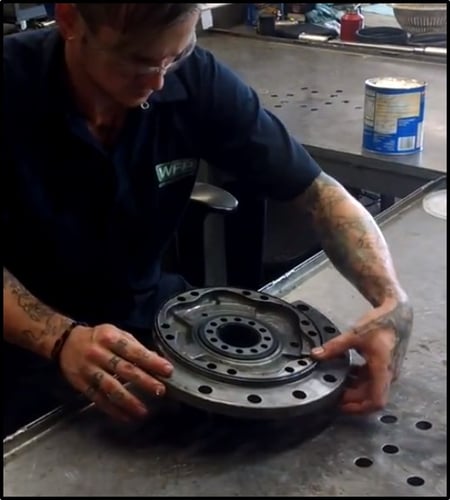
Tip #3: Prepare Surfaces
Check any keyways, keys, and splines for irregularities or burrs. Surface irregularities like this can make assembly difficult and should be removed if possible before assembly.
Also, metal surfaces that move relative to each other should be lightly coated with oil. Application of oil not only reduces the amount of force you need to apply to get them to fit together but will also provide lubrication during that brief interval of time before lubricant can be splashed on them during operation.
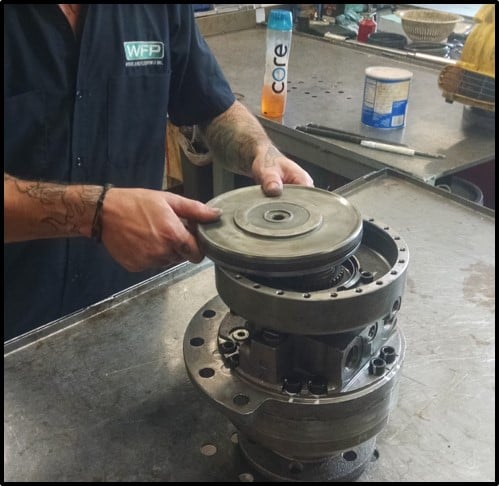
Tip #4: Pay Attention to Shoulders
Spacers, bearings, and washers are sometimes cut away a little on one side to allow for a solid fit against a shoulder. If they the are put in backward (where the cutaway isn’t fitted against the shoulder), then they will not be solidly seated. Don’t forget to take time to check for shoulders when assembling parts. If something isn’t seated solidly, it will affect the performance of your final drive.
Tip #5: Bolt Tightening Sequences
One of the main reasons that bolts sometimes have to be tightened in a specific sequence is to prevent breaking or warping parts. If one bolt is tightened up entirely while another is loose, it can cause the element to bend -- and it might not be designed to withstand bending! You run the risk of cracking critical components if you aren’t careful with how you tighten up bolts.
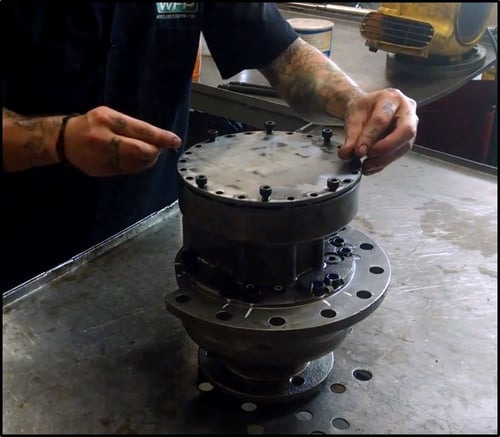
If you don’t know the tightening sequence for the part you are assembling, then tighten the ends first, then the middle, and then fill in between. If the bolts are arranged in a circle, then alternate the bolts you tighten using a crisscross pattern. The worst thing you can do is tighten up all the bolts going around in a circle. Do not do that!
Conclusion
Cleanliness, organization, surface prep, watching for shoulders, and using common sense when tightening bolts will go a long ways towards helping you care for your final drive like a professional. Do you have any other advice to share? Post it in the comments below -- we'd love to hear from you.
Texas Final Drive is your partner in providing new or remanufactured final drive hydraulic motors from a single mini-excavator to a fleet of heavy equipment. Call today so we can find the right final drive or hydraulic component for you, or check out our online store to find your O.E.M. manufacturer brand motor now.