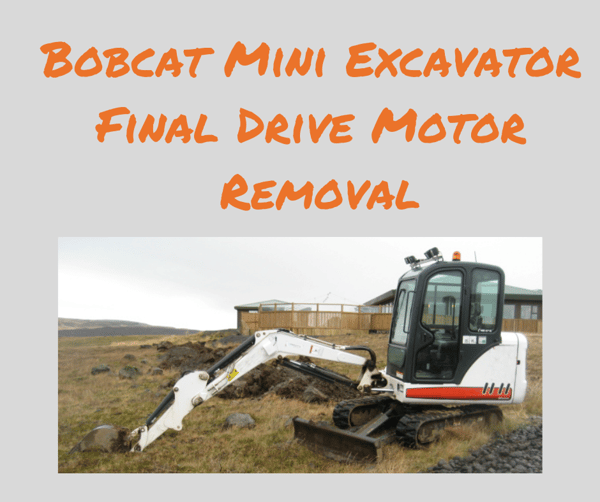
Do you own or operate a Bobcat mini-excavator? How much do you know about removing the track drive motor? Well, in this Shop Talk Blog post we are going to review the steps involved in removing the drive motor safely and easily.
Check out these other articles on mini excavators and final drive motors:
- Replacing the Drive Motors for a CTL
- CASE CTL: Options for Replacing the Hydraulic Motor and Final Drive
- Hints for Inspecting a Used Mini Excavator
Pulling Final Drives
If you have a Bobcat mini-excavator, sometimes called a mini-digger or compact excavator, you will probably need to pull the final drive motor. In fact, that's true for any brand of mini-excavator you have. Let's go through the processing for pulling drive motor.
Note: we want to make it clear that none of our instructions or advice should take the place of following the instructions from the manufacturer.
Mini-Excavator Track Removal and Cleaning
Of course, the first step is to remove the tracks. Experts usually recommend that you also clean the dirt and debris off the track frame to prevent contamination and make it easier to see, too. A power washer works very well for this.
Sprocket Bolts and Slings
After the tracks have been removed, loosen the sprocket bolts but don't remove them. Most technicians will tell you that it is easier to remove those sprocket bolts before your pull the final drive. This is a good time to place a some type of sling beneath the drive motor to support its weight. Drive motors are notoriously heavy, and this makes it much easier to remove.
Attending to the Hydraulics
Mark each one of the hydraulic hydraulics hoses so they can be quickly identified later. We've noticed that some of our customers actually put color-coordinated zip ties on the hoses and on the fittings to insure correct placement of the hydraulic lines later. This makes it much easier to identify them when you are ready to re-install the final drive.
Once that is done, remove the hoses. Remember to quickly cap the ends of the hoses and plug the ports of the hydraulic motor. This needs to be done to prevent contamination. That last thing you need is dirt and debris in the hydraulic system. You may want to have a bucket on hand to capture any hydraulic fluid that drains out just to keep it from making a mess (there isn't a way to salvage it without risking contamination).

Removing the Bolts and Pulling the Motor
Now you are ready to remove the bolts that secure the final drive to the track frame. This is done from inside the track frame. You may need an impact wrench of some cheater bars to get those bolts loose. Next, swing out the final drive motor. If you have trouble getting it loose, don't strike it to loosen it. Instead, try levering it from outside of the track frame to loosen it. Otherwise, you risk damaging the motor.
Removing Drive Motors
Removing the drive motor from a Bobcat mini-excavator can be challenging and time-consuming, but often proves all too necessary. Following this method outlined in this blog post should simplify things, however, and keep the situation from getting too messy -- literally and figuratively.